AI has changed everything. Building software used to require years of learning syntax, frameworks, and infrastructure. Today, AI handles most of the implementation—you describe what you want, and it writes the code. This is one of the most significant shifts in how software gets built.
But here's what hasn't changed: you still need to understand the ecosystem. Not to write code yourself, but to give AI clear instructions, understand what it generates, and troubleshoot when things go wrong.
Think of it like this: AI is an incredibly skilled co-pilot, but you still need to know the basics of flying—what the instruments mean, where you're headed, and what to do if something looks off. This guide teaches you those fundamentals.
By the end, you'll understand the core concepts that come up constantly when building with AI—terminal commands, version control, how code is organized, what databases do, and how apps get from your computer to the internet. This is the foundation that makes everything else click.
The Terminal: Your Command Center
Every AI coding tool—Cursor, Claude Code, VS Code—eventually asks you to run commands in a terminal. It looks intimidating at first, but it's simply a way to talk to your computer using text instead of clicking.
What is a terminal?
A terminal (also called command line, console, or shell) is a text-based interface to your computer. Instead of clicking icons and menus, you type commands and press Enter. It's how developers have controlled computers since before graphical interfaces existed—and it's still the most powerful way to do many tasks.
Why it matters for AI coding: When AI generates code, it often tells you to run commands like npm install or git push. If you don't know what these mean or where to type them, you're stuck. The terminal is where these commands live.
How to open the terminal
| Operating System | How to Open Terminal |
|---|---|
| Mac | Press Cmd + Space, type "Terminal", press Enter. Or find it in Applications → Utilities → Terminal |
| Windows | Press Windows key, type "PowerShell" or "Command Prompt", press Enter. For a better experience, install Windows Terminal from the Microsoft Store |
| Linux | Press Ctrl + Alt + T or search for "Terminal" in your applications |
For Windows users
Many tutorials assume Mac/Linux commands. Consider installing Git Bash (comes with Git) or WSL (Windows Subsystem for Linux) for better compatibility with developer tools.
The commands you'll actually use
You only need about five commands to get started. AI handles the complex stuff.
| Command | What It Does | Example |
|---|---|---|
cd | Change directory (move to a folder) | cd my-project |
ls (Mac/Linux) or dir (Windows) | List files in current folder | ls |
pwd | Print working directory (where am I?) | pwd |
mkdir | Make a new folder | mkdir new-project |
clear | Clear the terminal screen | clear |
See them in action:
A simple mental model
Think of your computer's files like a building with floors and rooms:
- Folders are rooms
- Files are things inside rooms
- The terminal is you walking through the building
cdis walking into a roomlsis looking around to see what's in the roompwdis asking "what room am I in?"
Don't memorize—let AI help
When AI tells you to run a command you don't recognize, just ask: "What does this command do?" AI will explain it. Over time, the common ones become second nature.
Reading error messages
Errors in the terminal look scary but follow a pattern. Here's what to look for:
- The error type — Usually in caps or at the start (e.g.,
Error:,ENOENT,ModuleNotFoundError) - The message — What went wrong in plain-ish English
- The location — Which file and line number caused the problem
Example error:
Error: Cannot find module 'react'
    at /Users/you/my-project/src/App.js:1:1
This tells you: React isn't installed, and the problem is in App.js, line 1. The fix is usually npm install react.
The #1 debugging skill
Copy the entire error message and paste it to your AI coding tool. Say "I got this error, what's wrong?" This solves 80% of problems.
Go Deeper: Terminal Tutorials
- Command Line Crash CourseVideo45 min
Traversy Media's beginner-friendly walkthrough
- The 50 Most Popular Linux & Terminal CommandsVideo5 hours
Comprehensive freeCodeCamp course by Colt Steele
- Command Line for BeginnersArticle
Ubuntu's official tutorial with practical exercises
- Learn Enough Command Line to Be DangerousCourse
Interactive tutorial with exercises
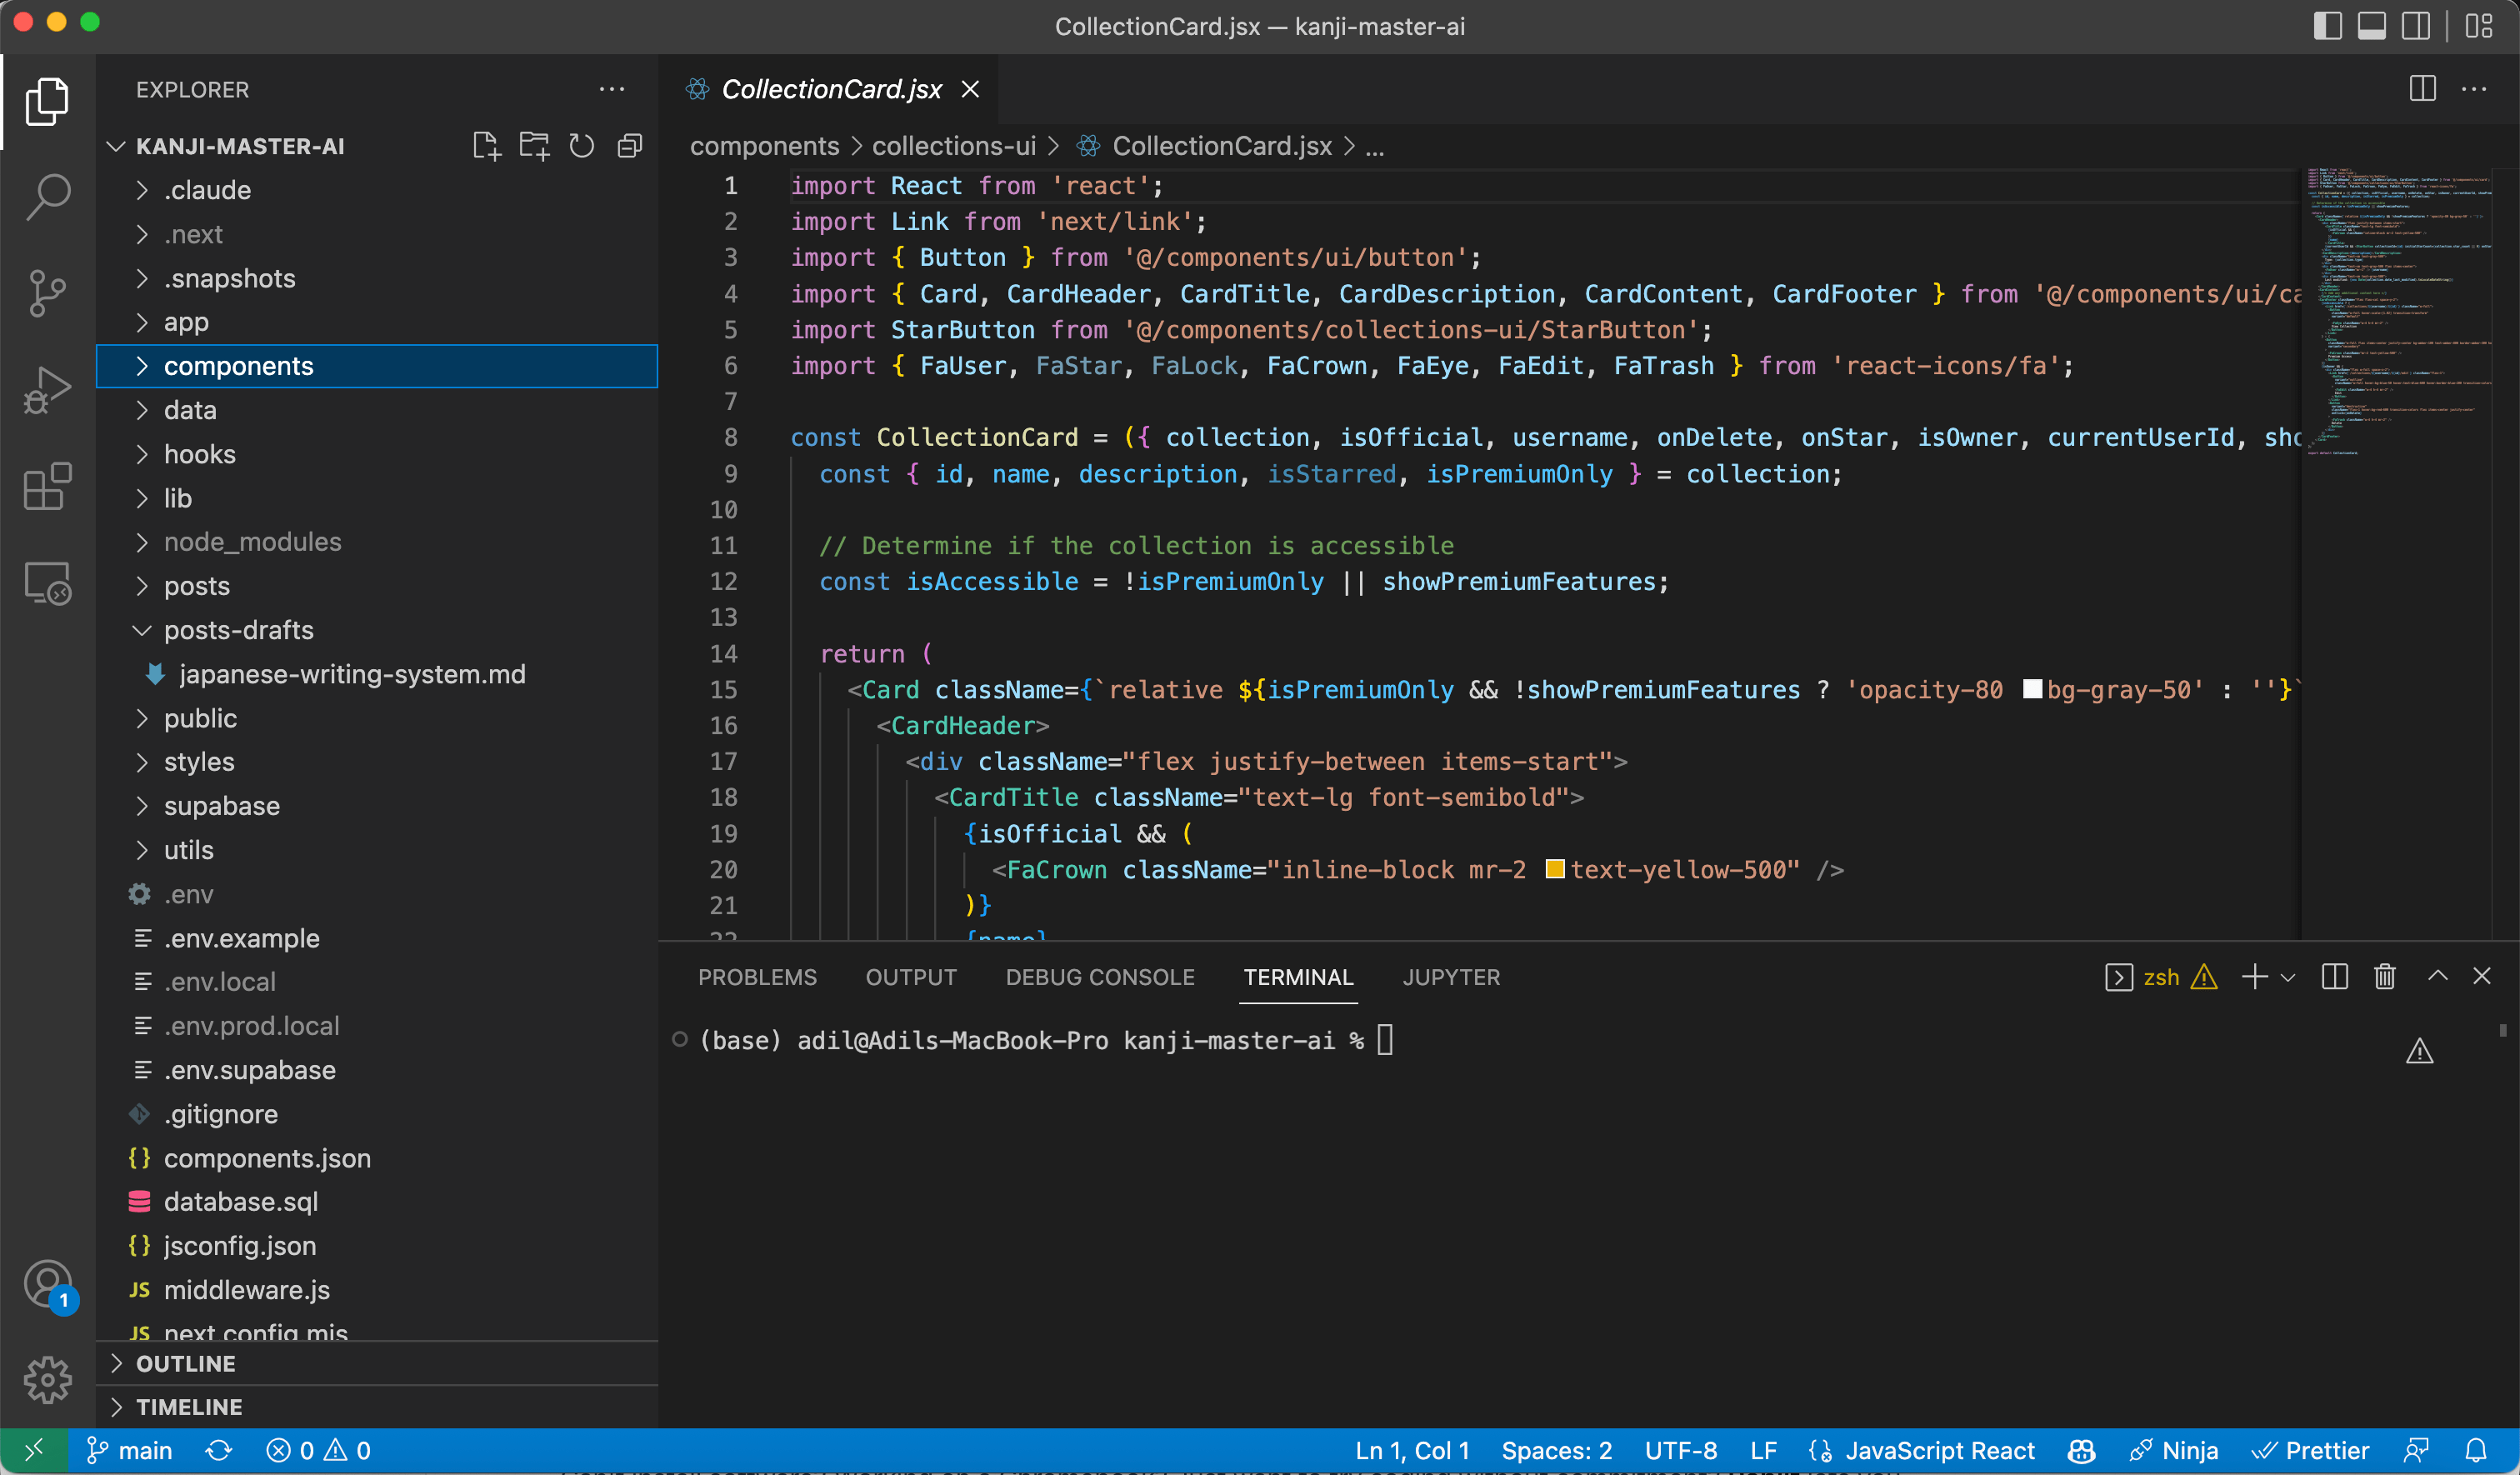
Your Code Editor (IDE)
Before you start writing code, you need a place to write it. That's where an IDE comes in—an Integrated Development Environment. Think of it as your coding workspace: a text editor, file browser, and terminal all in one window.
What is an IDE?
An IDE combines everything you need to write code:
- File explorer — Browse and organize your project files (left sidebar)
- Code editor — Where you write and edit code (center)
- Integrated terminal — Run commands without leaving the editor (bottom)
- Extensions — Add features like AI assistance, themes, and language support
- Command palette — Quick access to any feature (
Cmd/Ctrl + Shift + P)
You could write code in Notepad and run commands in a separate terminal, but an IDE makes everything faster and more connected.
The two main options for AI coding
| Editor | What It Is | Best For |
|---|---|---|
| VS Code | Free, open-source, most popular code editor | General development, huge extension ecosystem |
| Cursor | VS Code fork with AI built-in | AI-first development, seamless AI integration |
VS Code
Visual Studio Code (VS Code) is the most popular code editor in the world. It's free, open-source, and runs on Mac, Windows, and Linux. With the right extensions, it can do almost anything.
For AI coding, you'd add:
- GitHub Copilot — AI code suggestions ($10/month, free for students)
- Claude extension — Access to Claude AI in your editor
- Various AI extensions — Many options available in the marketplace
Cursor
Cursor is a fork of VS Code built specifically for AI-first development. It looks and works like VS Code (same shortcuts, same extensions), but AI is deeply integrated:
- Built-in AI chat — Ask questions about your code, get explanations
- Composer — Describe changes and AI implements them across files
- Cmd+K — Highlight code and ask AI to modify it
- Codebase awareness — AI understands your entire project
Our recommendation for AI coding
Start with Cursor. It's free to try, works like VS Code, and the AI integration is seamless. If you're learning to code with AI, Cursor removes the friction of setting up extensions and configuring AI tools.
Online IDE (no installation needed)
Can't install software? Working on a Chromebook? Just want to try coding without commitment? Replit lets you code from any browser.
Replit
A browser-based IDE with AI assistance, collaborative editing, and one-click deployment. Perfect for beginners who want to understand what they're building.
What makes it great for beginners:
- Zero setup — Start coding instantly in any browser
- AI Agent — Built-in AI that generates and explains code
- Built-in hosting — Your projects go live with one click
- Multiplayer — Code together with others in real-time
- Templates — Huge library of starter projects to learn from
Replit is great for getting started quickly and learning the fundamentals. As your projects grow more complex, you'll likely want to switch to a desktop IDE like Cursor for better performance and more features.
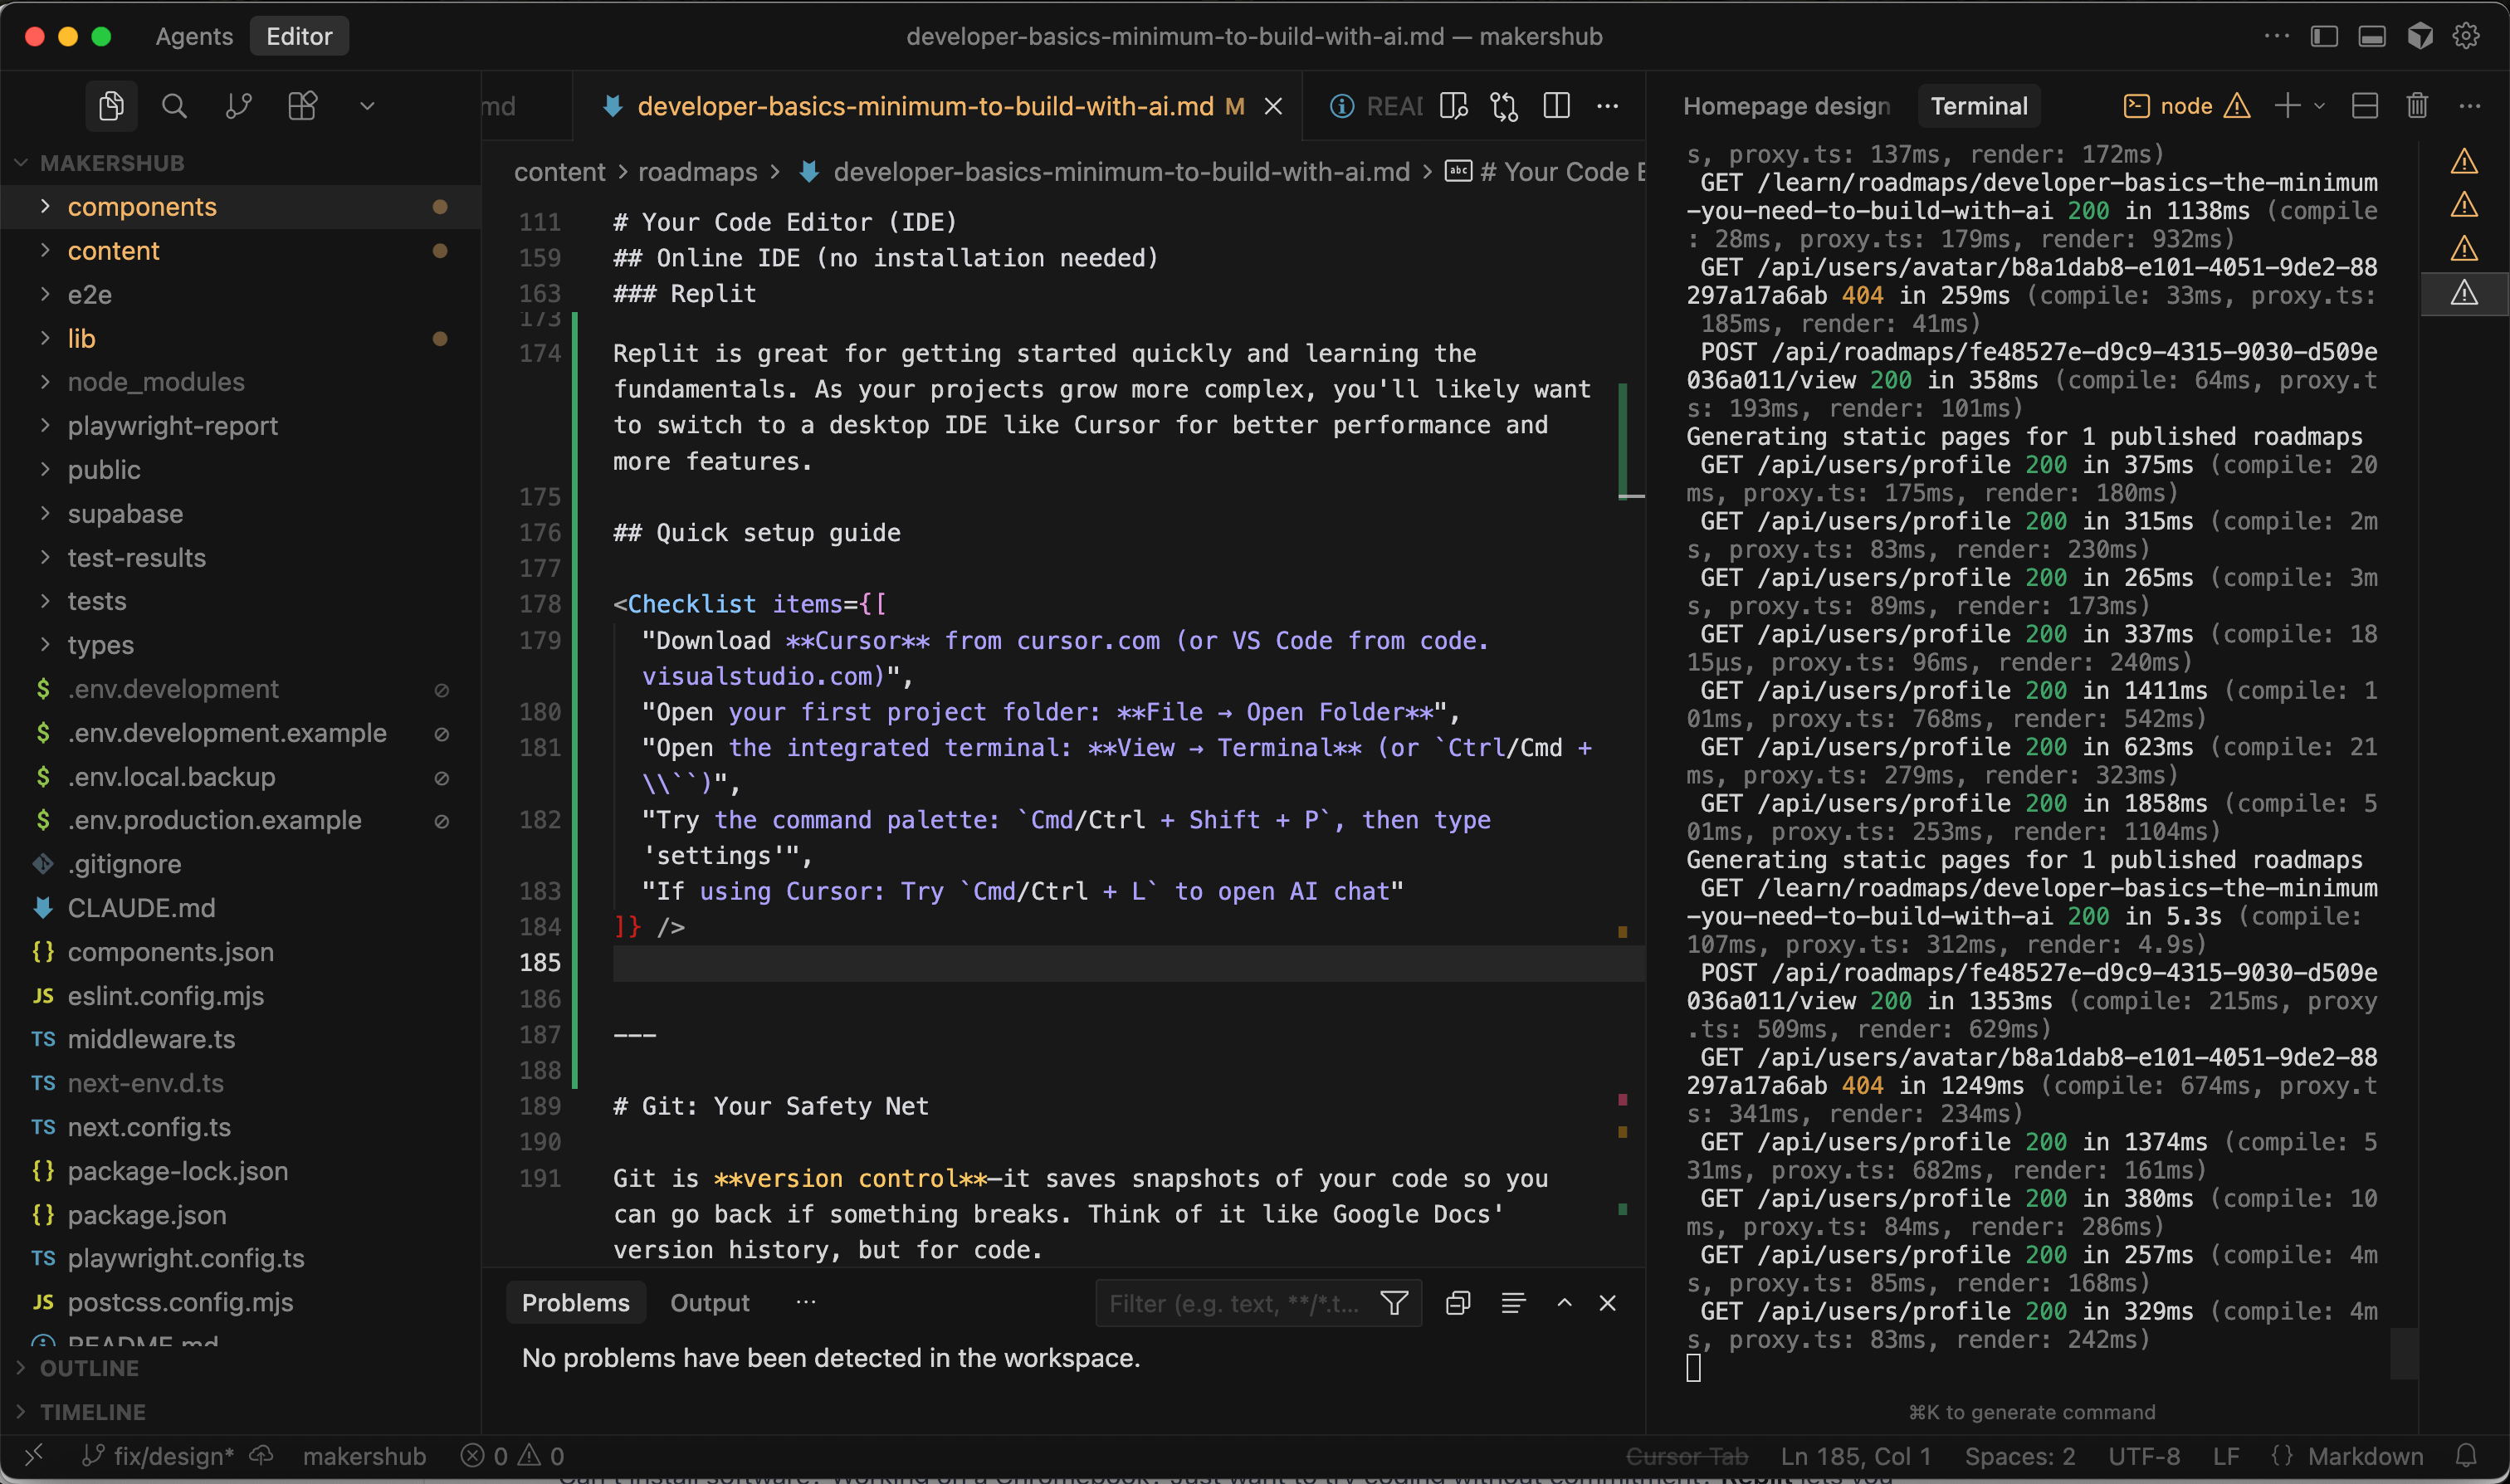
Quick setup guide
- Download Cursor from cursor.com (or VS Code from code.visualstudio.com)
- Open your first project folder: File → Open Folder
- Open the integrated terminal: View → Terminal (or
Ctrl/Cmd + \`) - Try the command palette:
Cmd/Ctrl + Shift + P, then type 'settings' - If using Cursor: Try
Cmd/Ctrl + Lto open AI chat
Git: Your Safety Net
Git is version control—it saves snapshots of your code so you can go back if something breaks. Think of it like Google Docs' version history, but for code.
What is Git?
Git is software that tracks changes to your files over time. Every time you save a "snapshot" (called a commit), Git remembers exactly what every file looked like at that moment. You can go back to any previous snapshot whenever you want.
GitHub is a website that stores your Git projects online. It's like Google Drive for code—your projects are backed up, and you can access them from anywhere.
Why Git matters even more with AI
AI can make sweeping changes to your codebase in seconds. Sometimes those changes break things. Without Git, you'd have to manually undo everything. With Git, you just roll back to a working version.
Git is your undo button for AI mistakes.
The five commands you need
| Command | What It Does | When to Use It |
|---|---|---|
git clone [url] | Download a project from GitHub | Starting with existing code |
git add . | Stage all your changes | Before saving a snapshot |
git commit -m "message" | Save a snapshot with a description | After completing a feature or fix |
git push | Upload your snapshots to GitHub | To back up or deploy |
git pull | Download the latest changes | When working with others or syncing |
The basic workflow
1. Make changes to your code (or AI makes them)
2. git add .          → Stage the changes
3. git commit -m "Added login page"   → Save a snapshot
4. git push           → Upload to GitHub
See it visually:
git add .git commit -m "message"git pushThat's it. This covers 90% of what you'll do with Git.
GitHub: Where your code lives online
GitHub is a website that stores your Git repositories (projects) online. It's important because:
- Backup — Your code isn't just on your laptop
- Deployment — Services like Vercel and Netlify connect to GitHub to publish your app
- Collaboration — Others can see and contribute to your code
Commit early, commit often
Make small, frequent commits. "Added header component" is better than one giant commit with everything. If something breaks, you can pinpoint exactly when.
When things go wrong
Made a mess and want to start over from your last commit?
git checkout .
This throws away all changes since your last save. It's your "undo everything" button.
Go Deeper: Git & GitHub Tutorials
- Git Explained in 100 SecondsVideo2 min
Fireship's ultra-quick conceptual overview
- Git and GitHub for Beginners - Crash CourseVideo1 hour
freeCodeCamp's comprehensive beginner course
- Learn Git BranchingInteractive
Visual, interactive tutorial for Git concepts
- Git TutorialArticle
W3Schools' step-by-step reference guide
Understanding Code Without Writing It
Here's the key insight: AI writes the code, but you need to read it well enough to know if something's wrong.
You're the director. AI is the screenwriter. You need to understand the script well enough to give feedback and catch problems—not write every word yourself.
Core concepts to recognize
You don't need to master these—just recognize them when you see them:
Variables — Named containers that hold values
const userName = "Sarah"
const itemCount = 5
Functions — Reusable blocks of code that do something
function calculateTotal(price, quantity) {
  return price * quantity
}
Conditionals — Code that makes decisions
if (userLoggedIn) {
  showDashboard()
} else {
  showLoginPage()
}
Loops — Code that repeats
for (let i = 0; i < 10; i++) {
  console.log(i)
}
File types and what they mean
| Extension | What It Is | You'll See It In |
|---|---|---|
.js | JavaScript | Web app logic |
.ts / .tsx | TypeScript (JavaScript with types) | Modern web apps |
.jsx | JavaScript + HTML mixed (React) | React components |
.py | Python | Data tools, AI apps, backends |
.json | Data/configuration | Settings, package info |
.md | Markdown (formatted text) | Documentation, README files |
.css | Styling | How things look |
.html | Web page structure | Basic web pages |
.env | Environment variables | Secrets and configuration |
The skill that matters most: Reading errors
When AI-generated code doesn't work, the error message tells you why. Learning to parse errors is the single most valuable skill for AI-assisted development.
Pattern to look for:
- What type of error? (syntax, reference, type, network)
- What file and line number?
- What's the actual message saying?
Then tell AI: "I'm getting [error] in [file] on line [number]. Here's the code around that line: [paste code]. What's wrong?"
Tech Stacks Explained
A tech stack is the combination of technologies used to build an app. Different stacks are better for different projects. Knowing the basics helps you tell AI which tools to use.
The Web Stack (JavaScript/TypeScript)
This is the most versatile stack—it can build almost anything on the web.
| Layer | Technology | What It Does |
|---|---|---|
| Language | JavaScript / TypeScript | The programming language |
| UI Library | React | Building interactive interfaces |
| Framework | Next.js | Full websites with routing, APIs, and more |
| Styling | Tailwind CSS | Making things look good |
| Database | Supabase (PostgreSQL) | Storing data |
| Hosting | Vercel / Netlify | Putting it on the internet |
Best for: Web apps, SaaS products, marketing sites, dashboards, most startup ideas.
The Data/AI Stack (Python)
Python is the language of data science, machine learning, and quick utility tools.
| Layer | Technology | What It Does |
|---|---|---|
| Language | Python | The programming language |
| Data | Pandas | Working with spreadsheet-like data |
| Visualization | Matplotlib / Plotly | Charts and graphs |
| UI | Streamlit | Quick web interfaces for data tools |
| AI/ML | OpenAI API / LangChain | Adding AI capabilities |
| Hosting | Streamlit Cloud / Railway | Putting it on the internet |
Best for: Data analysis tools, AI-powered utilities, automations, internal tools, prototypes.
The Mobile Stack
| Layer | Technology | What It Does |
|---|---|---|
| Framework | React Native + Expo | Build iOS and Android from one codebase |
| Language | JavaScript / TypeScript | Same as web—skills transfer |
| Backend | Supabase / Firebase | Data and authentication |
| Distribution | App Store / Play Store | Getting to users |
Best for: Mobile apps that need to be on app stores.
Which stack should you choose?
Simple decision tree
- "I want to build a web app or website" → Next.js + Supabase
- "I want to build a data tool or AI utility" → Python + Streamlit
- "I want to build a mobile app" → React Native + Expo
- "I'm not sure yet" → Start with Next.js—it's the most flexible
Frontend vs Backend
Every app has two parts: what users see (frontend) and what runs on servers (backend). Understanding this split helps you communicate with AI about where code should live.
Frontend: The user interface
Everything you can see and interact with:
- Buttons, forms, menus
- Layouts and styling
- Animations and transitions
- What happens when you click something
Technologies: React, Next.js pages, HTML, CSS, Tailwind
Backend: The behind-the-scenes
Everything that happens on servers:
- Storing and retrieving data from databases
- User authentication (login/logout)
- Processing payments
- Sending emails
- Talking to external services (APIs)
Technologies: Next.js API routes, Supabase, server functions
How they communicate: APIs
The frontend and backend talk to each other through APIs (Application Programming Interfaces). Think of it like a restaurant:
- Frontend = The dining room (what customers see)
- Backend = The kitchen (where food is made)
- API = The waiter (takes orders to kitchen, brings food back)
Click "Submit" on a form...When you click "Submit" on a form, the frontend sends a request to the backend API. The backend processes it (maybe saves to database), then sends a response back.
Why this matters for AI coding
AI will often ask or suggest things like:
- "Should this be a client component or server component?"
- "Do you want this logic on the frontend or in an API route?"
- "This needs to run on the server for security"
Now you understand what it's asking. Generally:
- Show something to users → Frontend
- Store data, authenticate, process sensitive info → Backend
Databases 101
A database is where your app stores information permanently. Without it, everything disappears when users close the browser.
What is a database?
Think of a database as a collection of spreadsheets that your app can read and write to automatically:
- Tables = Individual spreadsheets
- Rows = Individual records (like one user, one product, one order)
- Columns = Properties of each record (name, email, created_at)
- Relationships = Links between tables (this order belongs to this user)
Two tables in our database...| id | name | |
|---|---|---|
| 1 | Sarah Chen | sarah@email.com |
| 2 | Mike Johnson | mike@email.com |
| 3 | Emma Wilson | emma@email.com |
| id | user_id | product | amount |
|---|---|---|---|
| 101 | 1 | Pro Plan | $29 |
| 102 | 1 | Add-on | $9 |
| 103 | 3 | Pro Plan | $29 |
Two main types
| Type | Examples | Best For | Structure |
|---|---|---|---|
| Relational (SQL) | PostgreSQL, MySQL, Supabase | Most web apps, structured data, complex queries | Strict tables and relationships |
| NoSQL | MongoDB, Firebase | Flexible/changing data, real-time apps, simple queries | Flexible documents, less structure |
For most projects, use Supabase (PostgreSQL). It handles 95% of use cases and has excellent documentation.
Key vocabulary
| Term | What It Means | Example |
|---|---|---|
| Table | A collection of similar records | A users table stores all user accounts |
| Row | One record in a table | One specific user with their details |
| Column | A property that every record has | Every user has an email column |
| Primary Key | Unique identifier for each row | id column that's different for every user |
| Foreign Key | Link to a row in another table | user_id in orders table links to users table |
| Query | A request for specific data | "Get all orders from this user" |
| Migration | A saved change to database structure | "Add a phone column to users table" |
When AI talks about databases
Common things you'll hear:
- "Let's create a migration for the new table" → Saving a structural change
- "Add a foreign key relationship" → Linking two tables
- "Query the users table" → Getting data out
- "Set up Row Level Security (RLS)" → Making sure users only see their own data
You don't need to master SQL. AI writes the queries. You just need to understand what a database does and describe what you want stored.
Go Deeper: Database Tutorials
Package Managers & Dependencies
Modern apps are built on top of code other people wrote. Package managers handle downloading and organizing this external code.
What's a package?
A package (also called library or module) is pre-written code you can use in your project. Instead of building everything from scratch, you import packages:
- React — Building user interfaces
- Tailwind — Styling
- Supabase — Database connection
- date-fns — Working with dates
The two main package managers
| Language | Package Manager | Config File | Install Command |
|---|---|---|---|
| JavaScript/TypeScript | npm (or yarn/pnpm) | package.json | npm install package-name |
| Python | pip | requirements.txt | pip install package-name |
Key files to know
package.json (JavaScript projects)
Lists all the packages your project uses. When you run npm install, it reads this file and downloads everything.
node_modules folder
Where all downloaded packages live. It's huge and you never edit it. If something's weird, delete it and run npm install again.
.env file
Stores secrets and configuration (API keys, database URLs). Never share this file or commit it to GitHub.
Commands you'll use
npm install              # Install all packages listed in package.json
npm install axios        # Add a new package
npm run dev              # Start the development server
npm run build            # Create production version
When packages cause problems
The classic fix: delete node_modules and package-lock.json, then run npm install. This solves a surprising number of issues.
APIs: How Apps Talk
APIs (Application Programming Interfaces) let different software systems communicate. Your frontend talks to your backend through APIs. Your app talks to Stripe for payments through their API. Everything connects through APIs.
The restaurant analogy
- You (the frontend) = Customer in dining room
- Menu (API documentation) = What you can order
- Waiter (the API) = Takes your request, brings response
- Kitchen (the backend/server) = Prepares what you asked for
You don't go into the kitchen. You make a request through the waiter, and get a response back.
HTTP methods: Types of requests
| Method | Purpose | Example |
|---|---|---|
GET | Retrieve data | Get list of all habits |
POST | Create new data | Create a new habit |
PUT / PATCH | Update existing data | Mark habit as complete |
DELETE | Remove data | Delete a habit |
What an API request looks like
// Asking for data (GET request)
const response = await fetch('/api/habits')
const habits = await response.json()

// Sending data (POST request)
const response = await fetch('/api/habits', {
  method: 'POST',
  body: JSON.stringify({ name: 'Exercise daily' })
})
Ready to make request...Why this matters
When AI creates code, it often separates:
- Frontend components that display data
- API routes that fetch/save data from the database
Understanding that these are separate pieces that talk to each other helps you follow what AI is building and troubleshoot when the connection breaks.
Deployment: Getting Your App Online
Deployment means taking the app running on your computer and putting it on the internet where anyone can access it.
The three environments
| Environment | Purpose | URL Example |
|---|---|---|
| Local | Development on your computer | localhost:3000 |
| Staging | Testing before going live | staging.myapp.com |
| Production | The real app users see | myapp.com |
Popular deployment platforms
| Platform | Best For | How It Works |
|---|---|---|
| Vercel | Next.js apps | Connect GitHub → auto-deploys on push |
| Netlify | Any frontend, simple backends | Connect GitHub → auto-deploys on push |
| Streamlit Cloud | Python/Streamlit apps | Connect GitHub → auto-deploys on push |
The deployment workflow
- Push to GitHub → Your code goes to your repository
- Platform detects change → Vercel/Netlify sees the new code
- Builds your app → Compiles everything into production format
- Deploys → Makes it live at your URL
Writing code locally...This happens automatically once you connect GitHub to your deployment platform.
Environment variables in production
Your .env file with secrets doesn't go to GitHub (for security). Instead, you add those same variables in your deployment platform's settings. Every platform has a place for "Environment Variables" where you paste your keys.
Go Deeper: Deployment Tutorials
Putting It All Together
Here's how all these pieces connect when you build an app with AI:
The development rhythm
- Describe what you want → AI writes code
- Run locally →
npm run devstarts your app at localhost - Test it → Click around, see if it works
- Fix issues → Tell AI what's wrong, iterate
- Save your progress →
git add .+git commit+git push - It's live → Deployment platform automatically updates
Your mental model
You (Director) ──describes──▶ AI (Writer) ──generates──▶ Code

Code runs in: Terminal / VS Code / Cursor

Code is saved with: Git → GitHub

Code talks to: Database (Supabase)

Code goes live via: Vercel / Netlify / Railway
When you get stuck
- Copy the exact error message and ask AI what it means
- Check if you're in the right directory (
pwd) - Make sure all packages are installed (
npm install) - Restart the dev server (
npm run dev) - Check your
.envfile has the right values - Delete
node_modulesand reinstall if packages are weird - Roll back with Git if AI broke something (
git checkout .)
What's Next
You now have the foundational knowledge to start building with AI coding tools. You understand:
- Terminal — What it is, how to open it, and the commands you need
- IDE — Where to write code and which editor to choose
- Git — How to save your work and undo mistakes
- Code literacy — Reading code without writing it
- Tech stacks — Which tools for which job
- Frontend/Backend — Where different code lives
- Databases — How apps store data
- Package managers — How external code is managed
- APIs — How different parts communicate
- Deployment — How apps get on the internet
This isn't everything. But it's enough to start building real things and learn the rest as you go. The best way to solidify this knowledge is to use it.
Now go build something
Open Cursor or Claude Code, describe a simple project, and start building. You'll reference these concepts constantly—and they'll become second nature faster than you think.
Last updated: December 2025 Difficulty: Beginner | Estimated time: 15 minutes